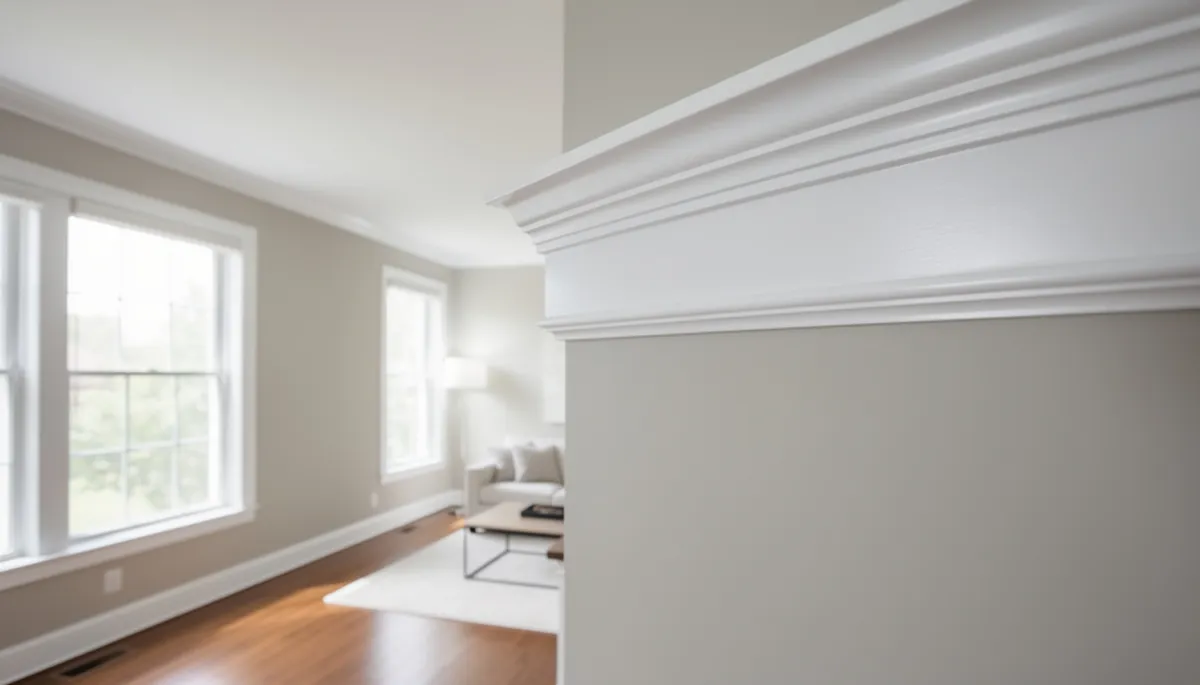
How to Install Crown Molding for a Polished, Professional Look
If you’re looking for a simple way to elevate any room, crown molding is a solid choice. Whether you’re working on a kitchen, living room, or bedroom, this finishing touch adds character and makes a space feel complete. Here’s a practical guide to installing crown molding like a pro, based on what we see day in and day out in East Chicago homes.
What tools and materials do I need to install crown molding?
Before you start, gather these essentials:
- Crown molding (pre-primed wood or MDF, depending on your budget and style)
- Measuring tape
- Miter saw (power or manual)
- Nail gun (or hammer and finish nails)
- Stud finder
- Wood filler or caulk
- Level
- Ladder
- Paint or stain for finishing
Having the right tools makes a big difference. If you’re adding crown molding as part of an interior painting upgrade or a full kitchen remodel, you might already have some of these on hand.
How do I measure and plan for crown molding?
Start by measuring each wall where you want to install molding. Always buy a bit more material than your measurements suggest—mistakes and miscuts happen, especially if this is your first go. Mark out where the studs are so you know where to nail. If your room isn’t perfectly square, measure each wall separately and double-check your angles. Most rooms in older East Chicago homes aren’t perfectly square, so expect a little adjusting.
What’s the best way to cut crown molding corners?
Corners are the trickiest part of crown molding. For inside corners, you’ll need to make a cope cut on one piece and a straight 45-degree miter on the other. A coping saw helps here. For outside corners, cut each piece at a 45-degree angle so they form a neat joint. Always test-fit your cuts before nailing anything up. A miter saw with adjustable angles is your best friend for this step. Take your time—measure twice, cut once.
How should I install the molding on the wall and ceiling?
Hold the molding in place, making sure it’s tight against both the wall and ceiling. Use a nail gun to attach the molding to the wall studs and ceiling joists. If you’re using a hammer and nails, be careful not to split the wood. Work your way around the room, joining each piece as you go. If you run into gaps, that’s normal—wood filler or caulk will hide most small imperfections. Use a level to keep everything straight, especially in older homes where ceilings and walls can be a little wavy.
What finishing touches make crown molding look polished?
After all the molding is up, fill nail holes and any gaps with wood filler or paintable caulk. Once that’s dry, lightly sand for a smooth finish. Now you can paint or stain the molding to match your décor. A fresh coat of paint ties everything together and helps the molding blend seamlessly with your walls and ceiling. This step is especially important if you’ve paired crown molding with other projects like wainscoting installation for a truly custom look.
Should I DIY or hire a professional for crown molding?
If you’re comfortable with a miter saw and have patience, crown molding can be a satisfying DIY project. However, it does take a steady hand and some experience to get the corners just right. Ceilings that aren’t level or walls that aren’t straight add to the challenge. For larger rooms or a flawless finish, hiring a pro is a smart move. Professionals can also help with more intricate designs or if you’re combining molding with other remodeling projects.
Frequently Asked Questions
Can I install crown molding in rooms with low ceilings?
Yes, but choose a narrower profile. Large crown molding can make low ceilings feel even lower. Sticking to slimmer designs adds detail without overwhelming the space.
Does crown molding need to match my baseboards?
Not exactly, but coordination helps. If your baseboards are simple, stick with a similar style for crown molding. For an updated look, many East Chicago homeowners mix styles, but keeping finishes and general profiles in harmony works best.
What’s the best material for crown molding?
Wood and MDF are the go-to choices. Wood is more durable and holds up better in humid rooms like kitchens and bathrooms. MDF is cost-effective and works well in dry areas. Both can be painted or stained.
Can crown molding hide ceiling or wall imperfections?
It can help, especially at the joint where the ceiling meets the wall. While it won’t fix structural issues, it does a good job covering minor cracks or uneven paint lines.
If you’re considering crown molding as part of your home’s next upgrade in or around East Chicago, the team at 3B's Contracting Inc can help. Whether you want to add finishing touches to one room or a whole house, reach out today to get started with professional advice or a free estimate.