How to Install a Kitchen Backsplash Yourself: Step-by-Step Guide
Installing a new backsplash is one of the most satisfying ways to upgrade your kitchen. Done right, it protects your walls and adds a custom touch. If you’re in East Chicago, IN and enjoy DIY projects, here’s a practical guide to help you tackle your own backsplash installation. We’ll cover the essential questions homeowners ask, breaking the process down into manageable steps.
What tools and materials do I need for a backsplash?
Before you start, gather all your materials and tools. Here’s a basic list for most tile backsplashes:
- Tiles (ceramic, porcelain, glass, or stone)
- Tile adhesive or thinset mortar
- Notched trowel
- Tile spacers
- Level and tape measure
- Tile cutter or wet saw
- Grout and rubber float
- Sponge and bucket
- Painter’s tape
- Pencil and utility knife
- Safety glasses and gloves
If you’re using peel-and-stick tiles, you’ll skip the mortar and grout, but still want a level, tape measure, and utility knife. For more details on materials or to see professional options, check out our backsplash installation service.
How do I prepare my kitchen wall for tile?
Preparation is key for a long-lasting backsplash. First, remove any old backsplash or debris. Clean the wall thoroughly with a degreaser—kitchen walls often have grease buildup. Repair any holes or dents with spackle and let it dry. Next, lightly sand the area to create a smooth, even surface. If painting or priming is needed, do it now and let it dry fully before tiling. Tape off the edges of your countertops and cabinets to protect them. Take accurate measurements so you know how your tiles will lay out, marking a level horizontal line as your starting point. Good prep work prevents headaches later on.
How do I lay out and cut the tiles?
Start by dry-laying tiles along your marked line to check spacing and cuts. Use tile spacers to maintain even grout lines. When you reach the end of a row or need to fit around outlets, measure and mark the tiles for cutting. For simple straight cuts, a basic tile cutter works fine. For more complex cuts—like around electrical boxes—a wet saw or tile nippers may be necessary. Always wear safety glasses when cutting. Double-check your cuts before committing with adhesive.
What’s the best way to apply tile adhesive?
Mix your thinset mortar if it’s not pre-mixed. Using a notched trowel, spread adhesive evenly on a small section of the wall—don’t cover too much at once, as it can dry out. Press each tile firmly into place, using spacers to keep lines straight. Check your work with a level every few rows. If any adhesive seeps out between tiles, clean it right away with a damp sponge. For large-format or heavy tiles, back-butter the tile (spread a thin layer of mortar on the back) for extra grip.
How do I finish with grout and clean up?
Once the adhesive has set (usually overnight), remove spacers and mix your grout. Using a rubber float, spread grout diagonally across the tiles, pressing it into the joints. Wipe off excess grout with a damp sponge, rinsing frequently. Don’t let grout dry on the tile faces—it’s harder to remove later. After the grout has cured, use a clean cloth to buff off any remaining haze. Apply a grout sealer if your tile or grout requires it. Reinstall outlet covers and caulk the edges where tile meets countertop or cabinets for a clean finish.
What mistakes should I avoid when installing a backsplash?
- Not properly preparing the wall — grease, moisture, or old adhesive can weaken your install.
- Skipping layout planning — you might end up with thin slivers of tile in visible spots.
- Mixing too much adhesive or grout at once — it can dry out before you use it.
- Forgetting to check for level — even slight shifts can become obvious across a wall.
- Not cleaning as you go — dried thinset or grout haze is tough to remove later.
If you realize the project is more than you want to tackle, our kitchen remodeling team can help you out.
Can I add a backsplash to other rooms?
Absolutely. Backsplashes aren’t just for kitchens. Laundry rooms, mudrooms, and bathrooms also benefit from easy-to-clean, water-resistant surfaces. For inspiration, see our laundry room remodeling ideas.
Frequently Asked Questions
How long does it take to install a backsplash?
A typical DIY backsplash takes a weekend—one day for installation, another for grouting and finishing. Drying times can vary based on your materials and wall prep.
Can I install a backsplash over existing tile?
It’s possible, but not ideal. The existing tile must be clean, flat, and well-adhered, and the added thickness may cause issues around outlets and edges. Removing the old tile gives a better, longer-lasting result.
What type of tile is easiest for DIY installation?
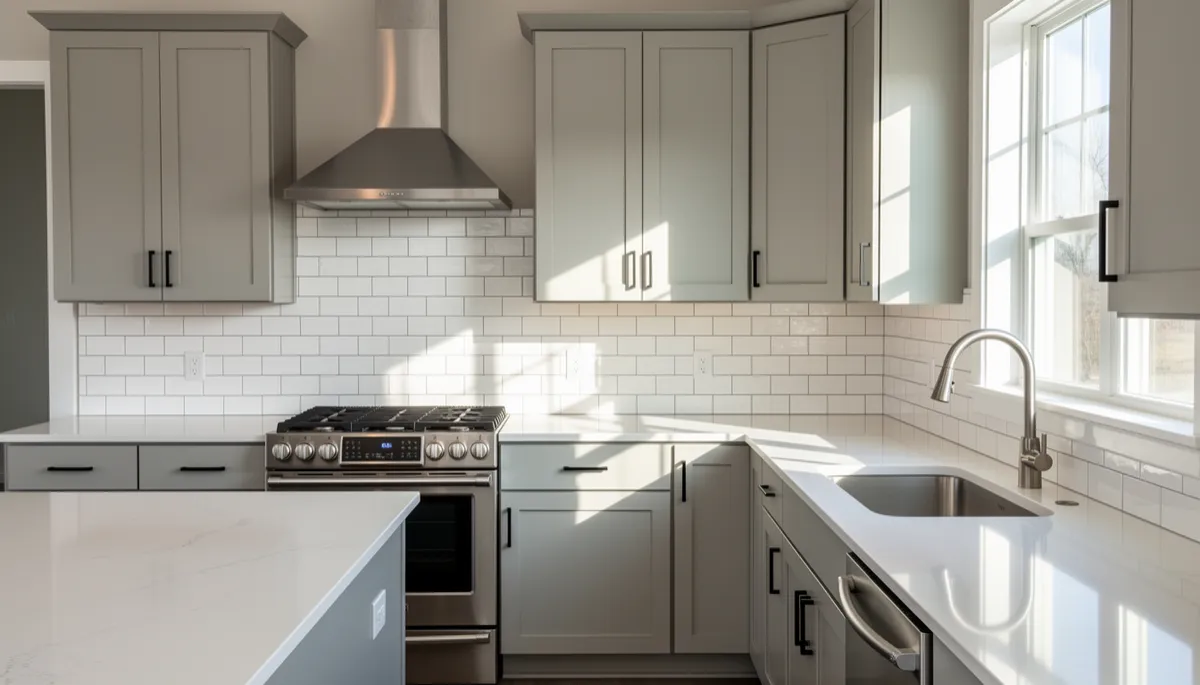
Ceramic subway tiles are a popular choice for beginners—they’re easy to cut, forgiving on layout, and available at most home centers. Peel-and-stick tiles are another DIY-friendly option if you want to skip the mess of mortar and grout.
Do I need special tools for glass or stone tiles?
Yes, glass and stone tiles often require a wet saw for clean, safe cuts. Standard tile cutters can crack these materials. Always check the manufacturer’s recommendations on cutting and setting specialty tiles.
Installing a kitchen backsplash yourself can be a rewarding project, adding value and style to your home. If you have questions or want professional results, 3B’s Contracting Inc serves homeowners throughout East Chicago, IN. Reach out to us for help with anything from a simple backsplash to full kitchen remodels.